Mastering photography for social media content:

Best practice for generating captivating content (with nothing but an iPhone)
In an increasingly curated digital age, we all know that it’s important to share high-quality, but authentic imagery. We work with many brands remotely, so offering these top tips (some ours, some borrowed and learnt over the years!) is really beneficial for us when it comes to creating client content.
And whether you are a team out and about, a product-led retail eCommerce, or a B2B SAAS business, photography will be an important element of your social media marketing. Here are the top tips we share with our clients…

Before you take a photo, go to Settings:
- Turn your phone brightness up to 100%
- Click the toggle to turn on Grid and Level (to give you guidelines).
- Carefully wipe your lens to ensure it’s clean.
- Think about where (and how) your photo might be used. Shoot in 4:3 or 19:9 for Stories, but consider keeping the subject central so it can be edited to a square for the Instagram grid.
- Turn on Live photos (this will give you more flexibility especially if making video content).
- Natural lighting will always be preferable, but when shooting in Portrait mode, you can change the settings to Studio Light.
Think about composition:
- Use the ‘rule of thirds’ to frame your image. Play with positioning a subject either centrally, or to one of the thirds (gridlines will help with this).
- What do you want your audience to take from your image? Think about how to best ‘frame’ the shot to tell the story (more on this below!).
- Use leading lines and framing to guide the viewer’s eye, experimenting with perspective and angles for unique shots.
Tell the story:
- Craft narratives with your photos. In a coffee shop waiting for a client meeting? Position your coffee cup in the right third and use 2/3 to show where you are.
- Spark engagement, take photos of moments or things that inspire you or your team.
- Capture authentic moments that reflect you, your brand, or your work. Not everything has to be perfect (but it does have to be well-lit!)
Taking the shot:
- Take more than one photo, it’s far better to have too many images to choose from.
- Experiment by tapping on your phone to focus on one area – a yellow box will appear. If you swipe up on the sunshine icon, you can increase or decrease the brightness.
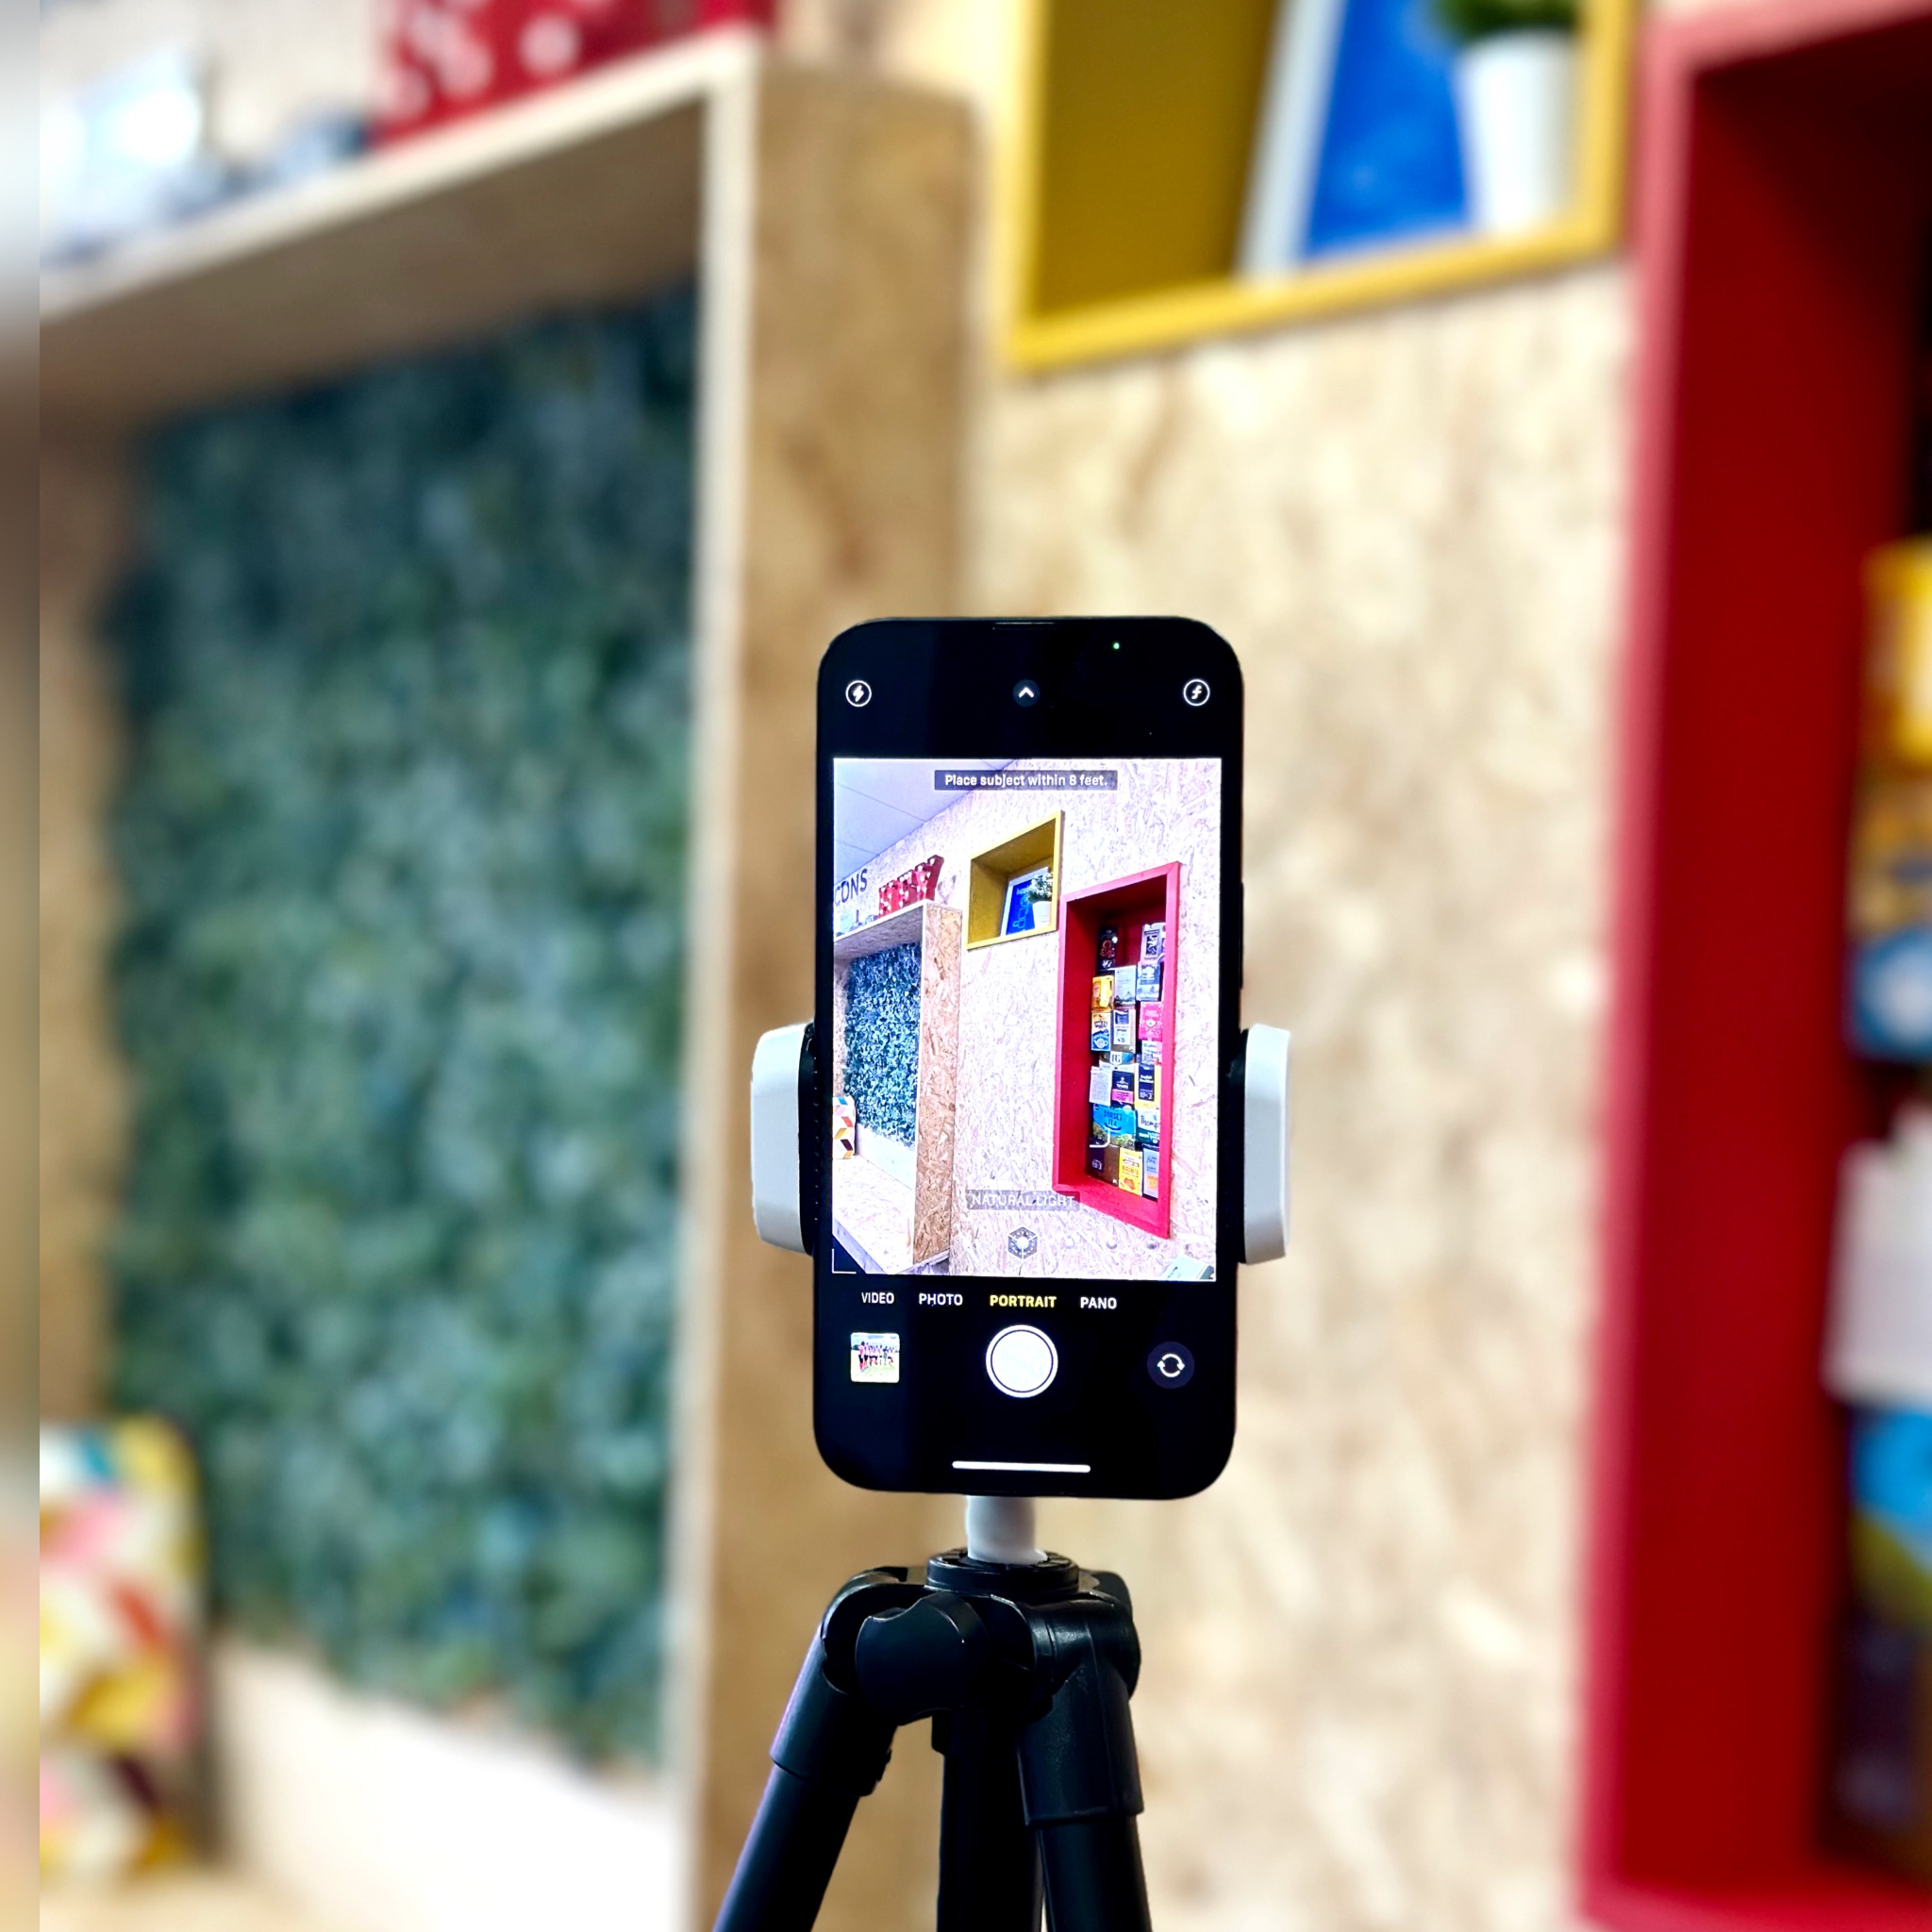
- Portrait is a great mode if there is an element you wish to focus on in the foreground. This setting will shoot your subject in definition, while blurring the background (experiment with lighting settings in this mode too)
- Keeping the phone still, take the same shot in a range of image sizes (4:3, Square, 16:9) so that the imagery can be used across platforms.
- Need the whole team in the shot? Set the 10′ timer and get yourself in shot.
- Not everything has to be posed, reportage style works really well for brand social media channels.
- Think about how to maximise reach of your image, who could be tagged in the image and then double check to ensure the quality and style is quality enough to encourage reshares and engagement.
Sharing your images:
- We ask our clients to share images with us via WeTransfer where possible to retain quality.
- On an iPhone you can create Shared Albums, another good way to retain image quality. Anyone added to the album can upload and see images as soon as they are shared.
- Avoid sending via WhatsApp as the quality will be compromised.
Finally, a quick reminder to always consider your audience and what they like to see in their feeds so you can capture the right content in the first place (spoiler, followers love seeing behind the scenes of the brands they follow!)


